Ledger.com/start – The Ultimate SEO Guide to Setting Up Your Ledger Wallet (2025)
If you’ve just purchased a Ledger hardware wallet and want to secure your cryptocurrency the right way, Ledger.com/start is the official place to begin. This setup portal provides everything you need to activate your device safely, install Ledger Live, and protect your digital assets from online threats. In this SEO-optimized guide, you’ll learn exactly how to get started, how to secure your recovery phrase, and how to begin managing crypto using Ledger Live—all with clear steps and beginner-friendly explanations.
Why Ledger.com/start Matters for Your Crypto Security
With cyber threats and exchange hacks on the rise, using a hardware wallet is no longer optional—it’s essential. Ledger.com/start ensures users follow a verified, secure setup process and avoid malicious third-party websites.
What makes Ledger hardware wallets stand out?
Offline (cold) storage for private keys
Certified secure chips
Support for 5,000+ cryptocurrencies
Integration with the Ledger Live app
Full user control of private keys
By using Ledger, your crypto stays in your hands—not on vulnerable online exchanges.
Unboxing Your Ledger Wallet: What to Expect
Before heading to Ledger.com/start, take a moment to inspect your box. You should find:
A Ledger Nano S Plus or Ledger Nano X device
USB cable
Quick start guide
24-word recovery sheets
Accessories (device-dependent)
Important: Ledger never provides a pre-written recovery phrase. If one is included, do not use the device.
How to Begin Your Secure Setup at Ledger.com/start
Setting up your Ledger wallet is simple, but each step matters. Follow the official setup process to secure your crypto from day one.
Step 1: Visit the Official Ledger Setup Page
Go to Ledger.com/start using your browser.
Avoid clicking unknown links or ads—phishing scams often target new crypto users. The official setup page ensures you download authentic software and follow legitimate instructions.
Step 2: Download Ledger Live (Official App)
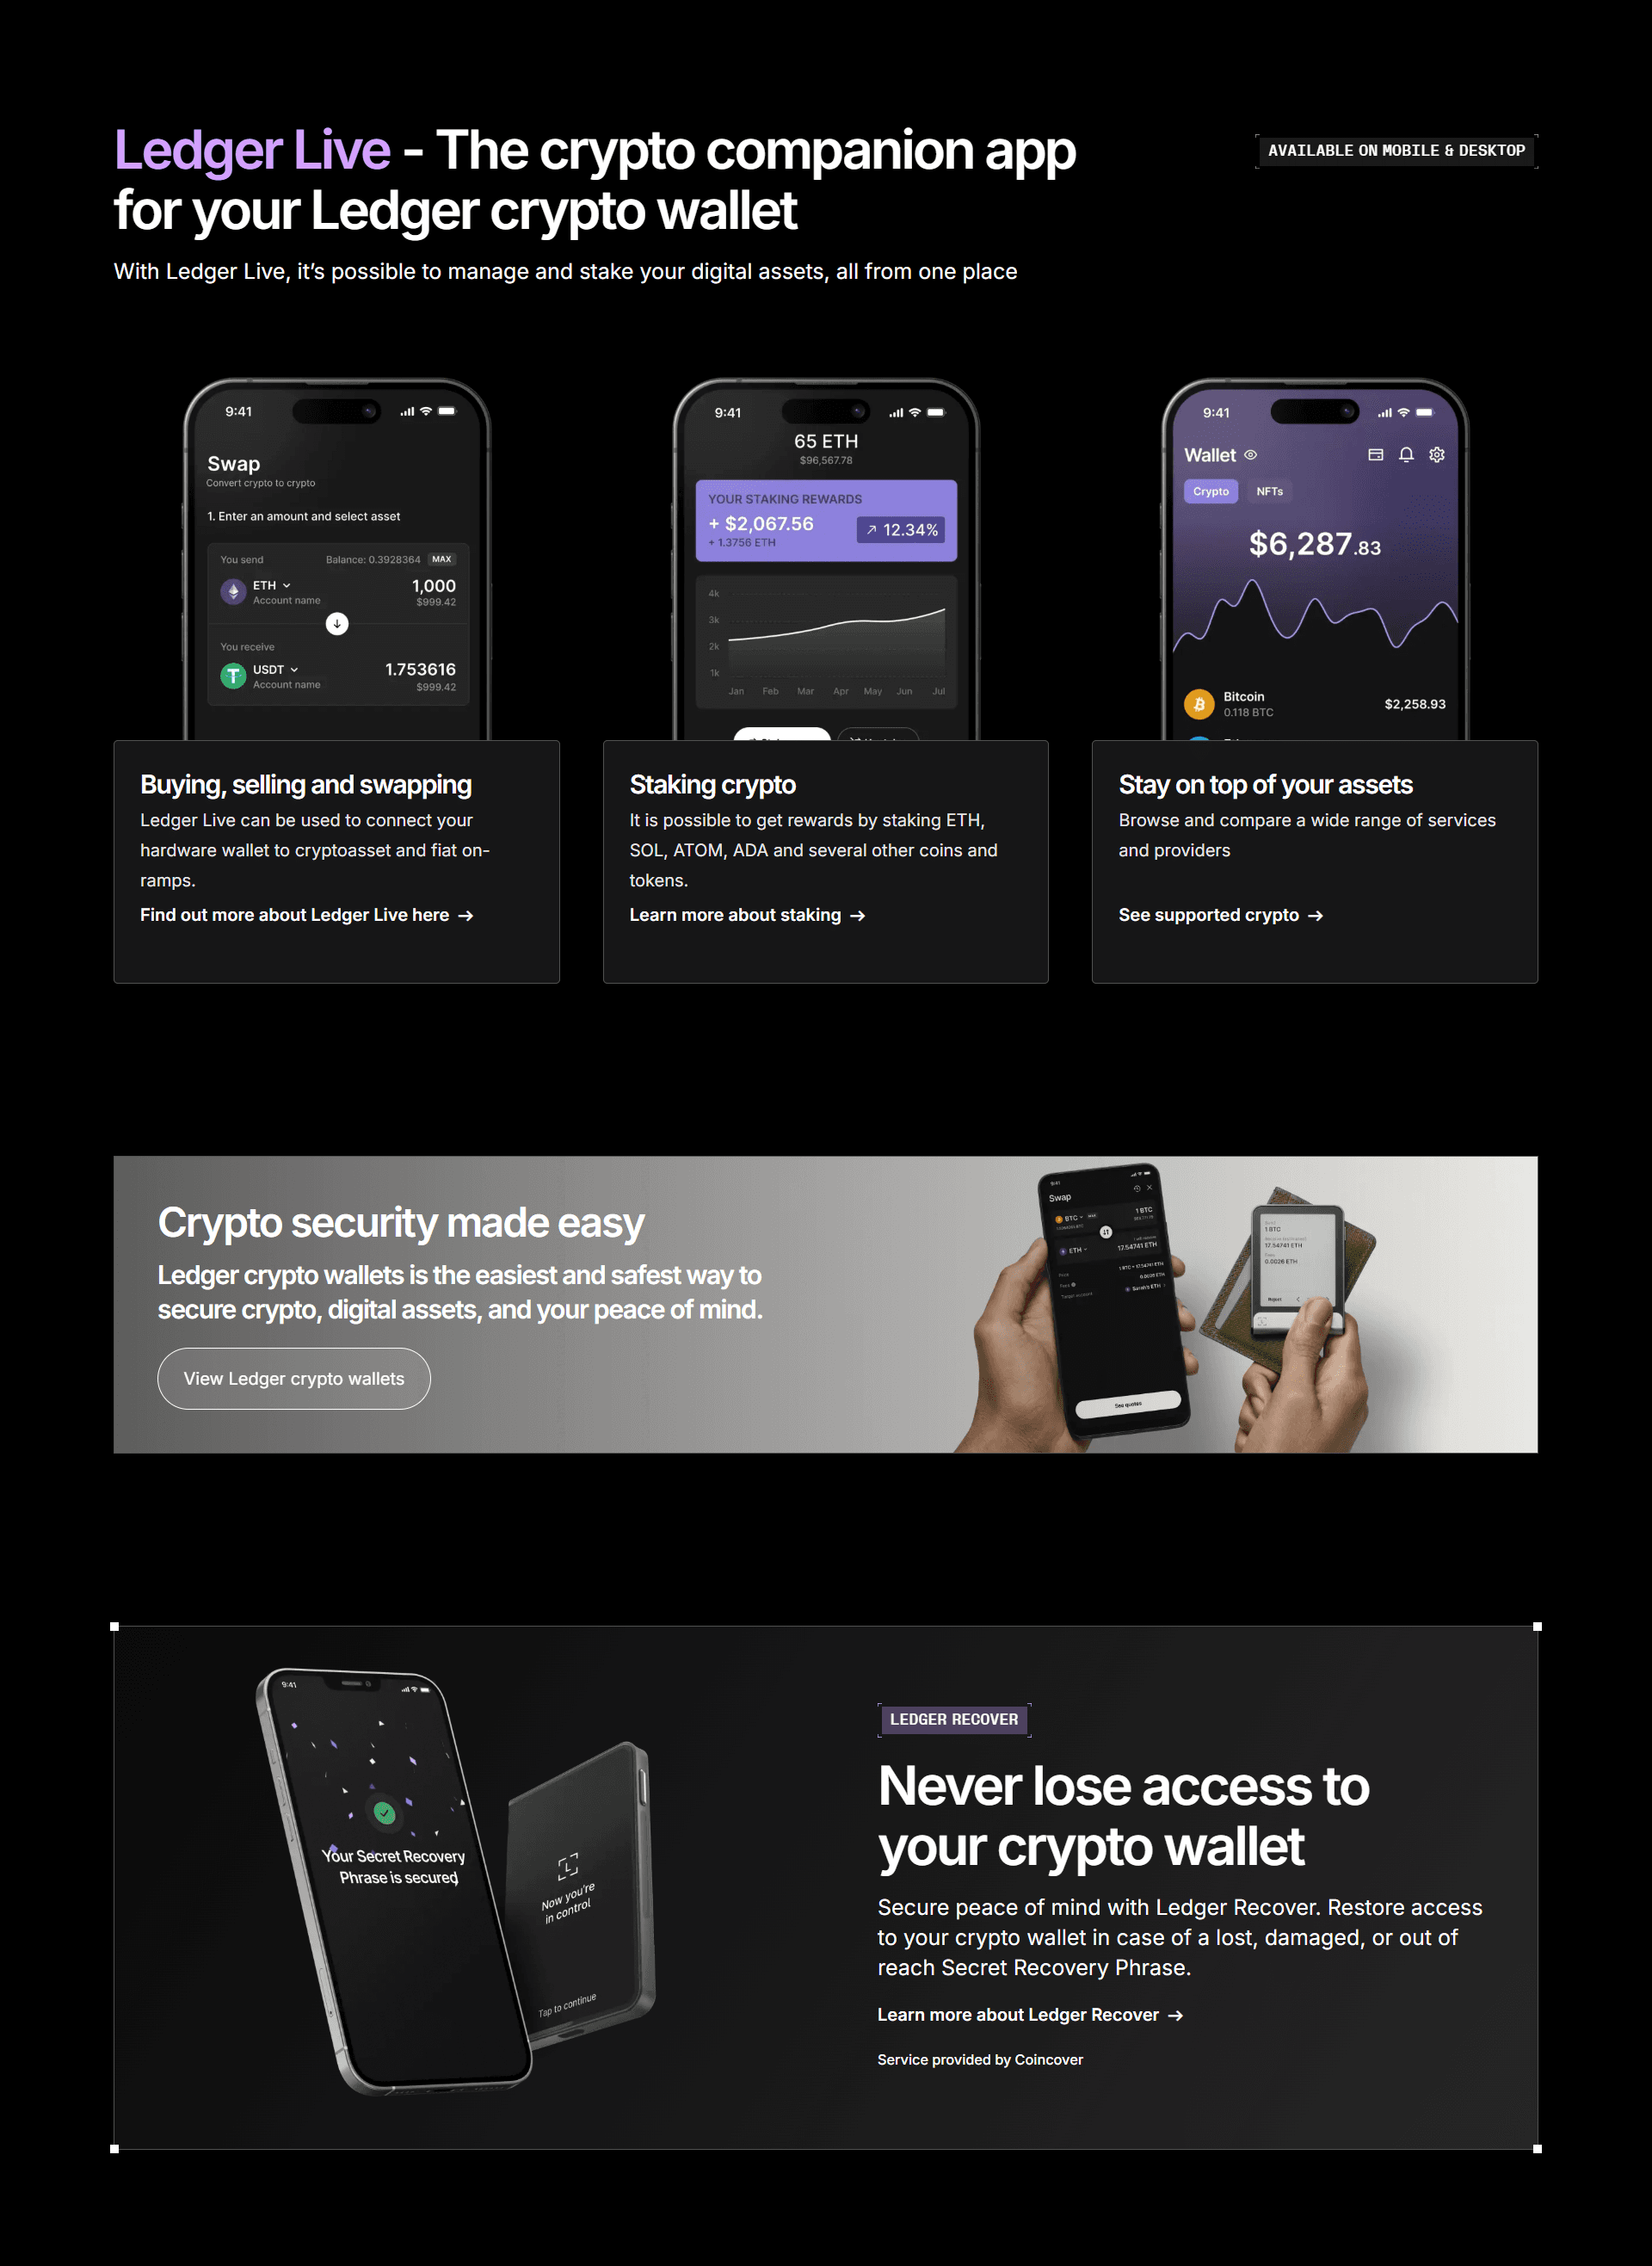
Ledger Live is the central hub where you will manage your hardware wallet, add accounts, send and receive crypto, and monitor your portfolio.
Ledger Live features include:
Wallet initialization
App installation for supported coins
Secure transaction signing
Portfolio tracking
NFT management (Ethereum & Polygon)
Ledger Live is compatible with:
Windows
macOS
Linux
Android
iOS (Nano X only via Bluetooth)
Step 3: Connect Your Ledger Device
Use the included USB cable or Bluetooth (Nano X).
Follow the prompts in Ledger Live and choose “Set up as new device” if this is your first time using a Ledger wallet.
This generates a brand-new, unique cryptographic identity only you control.
Step 4: Create a Strong PIN Code
Your Ledger will ask you to choose a PIN code.
This PIN protects your device from unauthorized access.
PIN security tips:
Use a unique 4–8 digit number
Do not write it down next to your device
Never share it with anyone
If someone obtains your PIN, they could access your device—so treat it like a vault password.
Step 5: Write Down Your 24-Word Recovery Phrase
Your Ledger device will now display your 24-word recovery phrase, also known as the seed phrase. This is the most critical part of your setup.
Why it matters:
Your recovery phrase is the only way to restore your wallet if the device is lost, reset, or damaged. It also provides full access to all crypto accounts controlled by your Ledger.
Rules for recovery phrase safety:
Write it on the provided recovery sheet
Store it offline in a secure place
Never take photos of the phrase
Never save it on your computer or cloud storage
Never share the phrase with anyone
Ledger will never ask for your recovery phrase.
Any site or person requesting it is a scam.
Step 6: Confirm Your Recovery Words
Your Ledger will ask you to confirm selected words to ensure accuracy. This step prevents errors that could lock you out of your wallet.
Once confirmed, your wallet is officially created and completely under your control.
Adding Crypto Accounts in Ledger Live
After completing the setup at Ledger.com/start, you can begin adding accounts to manage your crypto.
How to Add an Account
Open Ledger Live
Click “Accounts”
Select “Add Account”
Choose your cryptocurrency
Confirm installation on your Ledger device
Ledger supports thousands of coins including:
Bitcoin (BTC)
Ethereum (ETH)
Litecoin (LTC)
Solana (SOL)
XRP
USDT / USDC
Many ERC-20 and BEP-20 tokens
Sending and Receiving Crypto Safely
Receiving Crypto
Open the account in Ledger Live
Click Receive
Verify the address on both the app and the device
Share only the public address
Sending Crypto
Click Send
Enter the recipient’s address
Confirm the transaction details on your Ledger device
Approve the transfer
Always verify the address on the hardware device screen—this protects you from malware that may alter addresses on your computer.
Top Security Tips for Ledger Users
To enhance safety, always follow these best practices:
Keep your recovery phrase offline and secret
Enable Ledger Live password lock
Install firmware updates when prompted
Use only the official Ledger website
Avoid typing your seed phrase online
Long-term crypto security relies on consistent safe habits.
Final Thoughts
Setting up your device through Ledger.com/start is the foundation of securely storing and managing your cryptocurrency. With a verified hardware wallet, a protected recovery phrase, and proper use of Ledger Live, you gain full control and peace of mind.
Whether you’re holding Bitcoin, staking Ethereum, or diversifying into altcoins, Ledger ensures your assets remain protected from online threats—today and in the future.